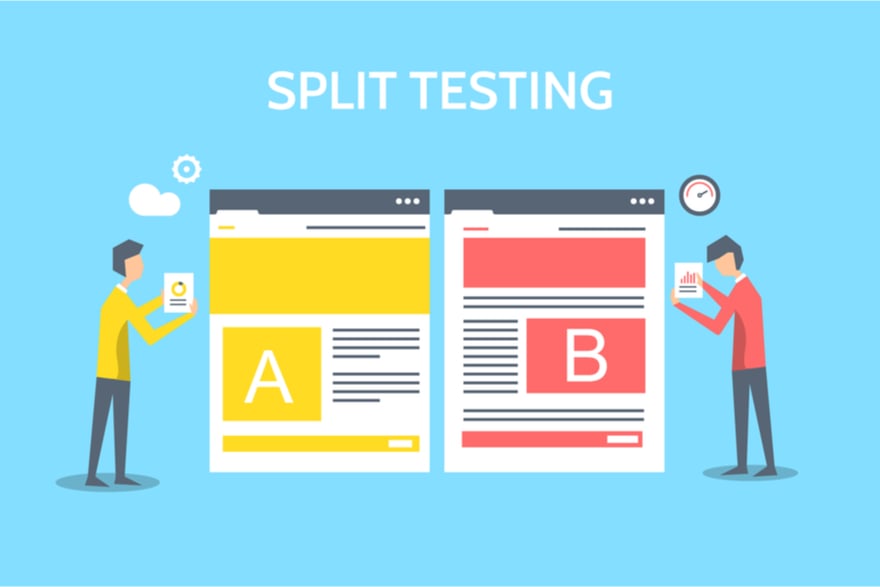
Split testing, also known as A/B testing, is when you isolate one element and change it, then test how that single change affected various metrics. It’s a simple, yet incredibly powerful, tool of gauging if you’re heading in the right direction or if a minor change is needed. FeedbackExpress will show you how to do split testing on your Amazon listings to maximize traffic and conversions.
Why You Should Make Split Testing on Amazon a Regular Thing
There are hundreds and hundreds of millions of products being sold on Amazon. That makes the margin of success razor thin, depending on the category and product, and any edge you can get can make a huge difference.
With so many components that comprise an Amazon listing, it’s quite easy to perform split testing and make it a regular part of your toolbox. You can split test on just about anything, whether it’s product names, images, order of images, descriptions, keywords, traffic diversion and so much more.
However, for split testing to be truly successful, you generally need to meet some criteria and they include:
- Having enough traffic to constitute a reliable enough sample size. A couple dozen visits a day or week won’t cut it, as too many things are left up to chance.
- If you don’t have the traffic, you’ll need to acquire it, plain and simple. One of the easiest ways is through Sponsored Product Ads; while that can signify a bit of an investment, the ROI is often more than worth it.
- You have the financial stability to patiently wait for results to show themselves after several days or weeks, as your traffic and type of split testing will dictate the timeline.
- Sometimes the test results will be inconclusive, so you’ve got to be able to weather that, too.
- Lastly, there’s always a chance that one of the changed elements in your split test adversely affects traffic and conversion, so do you have the reserves to get through that?
Different Kinds of Split Tests You Can Perform on Your Amazon Listings
As we briefly mentioned, there’s a ton of different split tests you can carry out on your Amazon listings to find the best results. Here are some of the most common and important ones.
- Price: A product’s price is one of the first and most enduring things a buyer looks at, and is often the deciding factor in a purchase. Start with a small change of 5-10% in either direction; going higher can lend an aura of exclusivity to your product (the downside is potentially decreasing the pool of interested or qualified buyers), while going lower can signify a great deal (and the downside is lower profit margins with the aim of making it up with a higher volume of sales). Once you’ve found the Goldilocks zone, use a tool like RepricerExpress to lock that zone into a min-max pricing rule.
- Featured Image: The featured image is the first product picture a buyer sees when they come across your listing and is an incredibly important first point of contact to establish. You also have less than a second to make an excellent first impression, so the stakes are high with this one and you don’t want to split test really drastic differences. Do a quick search for similar products to what you’re selling and take note of what the featured images are like, then change something small — but also noticeably different — for this split test. For example, if you’re selling waterproof phone cases, the search landing page shows mostly results of phones in cases with the an image of the phone being dunked in water. A small but noticeable change you can make is to add a realistic element to it, like showing a phone in the case in actual water, like a lake or bathtub.
- Headline: Another element on the first-things-buyers-notice list is the product’s headline. An oft-used formula is to write it “brand name + colour and/or flavour and/or variant + size and/or quantity + keywords”. There are so many different ways you can split test with this, from the keywords to use to how you describe the product.
- Product Description Bullet Points: Bullet points aren’t mandatory in your product description, but you’ll have a hard time engaging the user if you don’t have them. When you split test on bullet points, you can do things like summarize the sentence and bold it before explaining the feature, changing the order of bulleted features, the kinds of bullets you use, and more.
Just remember that the whole point of split testing is to change one element and test for its or the control’s success or failure, then move on from there. Don’t introduce more than one change at a time or else you’ll have no way of knowing what made the difference.
And If Split Testing Isn’t Your Thing? You Can Automate It
An alternative to carrying out split testing yourself is to automate the process with a third party. PickFu is one of the best tools you can go with, with the software polling targeted audiences on the questions you pose.
How it works is you present all the changes you’re thinking of, simultaneously, to an audience that matches your customer profile, then they answer a survey on which ones they like best. You can even split test your audience in a way by changing the demographic profile based on who you think yours actually will be.
What’s neat about this alternative is that sales are a completely independent factor during the process. You’re getting survey results from real people before risking changes with actual products and sales, giving you information you can use in the real world. It’s also a really fast process, with most polls taking under half an hour to complete.
If you’re not into PickFu, Listing Dojo and Splitly are two other alternatives you can try out.
Final Thoughts
Know what else you can split test on? The best message templates that will get you the fastest feedback on completed sales. FeedbackExpress can do just that by providing you with a number of templates you can use to gauge the success of. All you have to do is sign up, with a 14 day free trial to get started.